Here are the steps I use to create a solar plate. I will use this plate in a new print series I am working on for my upcoming show.
The first step is to prepare a drawing. I used pencil to create this sketch of a scene in Lewis Carroll's Alice in Wonderland--the pool of tears. I drew the Dodo, a duck, a lory and an eaglet.
The next step is to translate the drawing to a black and white image on a transparency. The transparency will be used to expose the light sensitive solar plate. I drew with a Sharpie fine point and scratched into the ink with an Xacto.
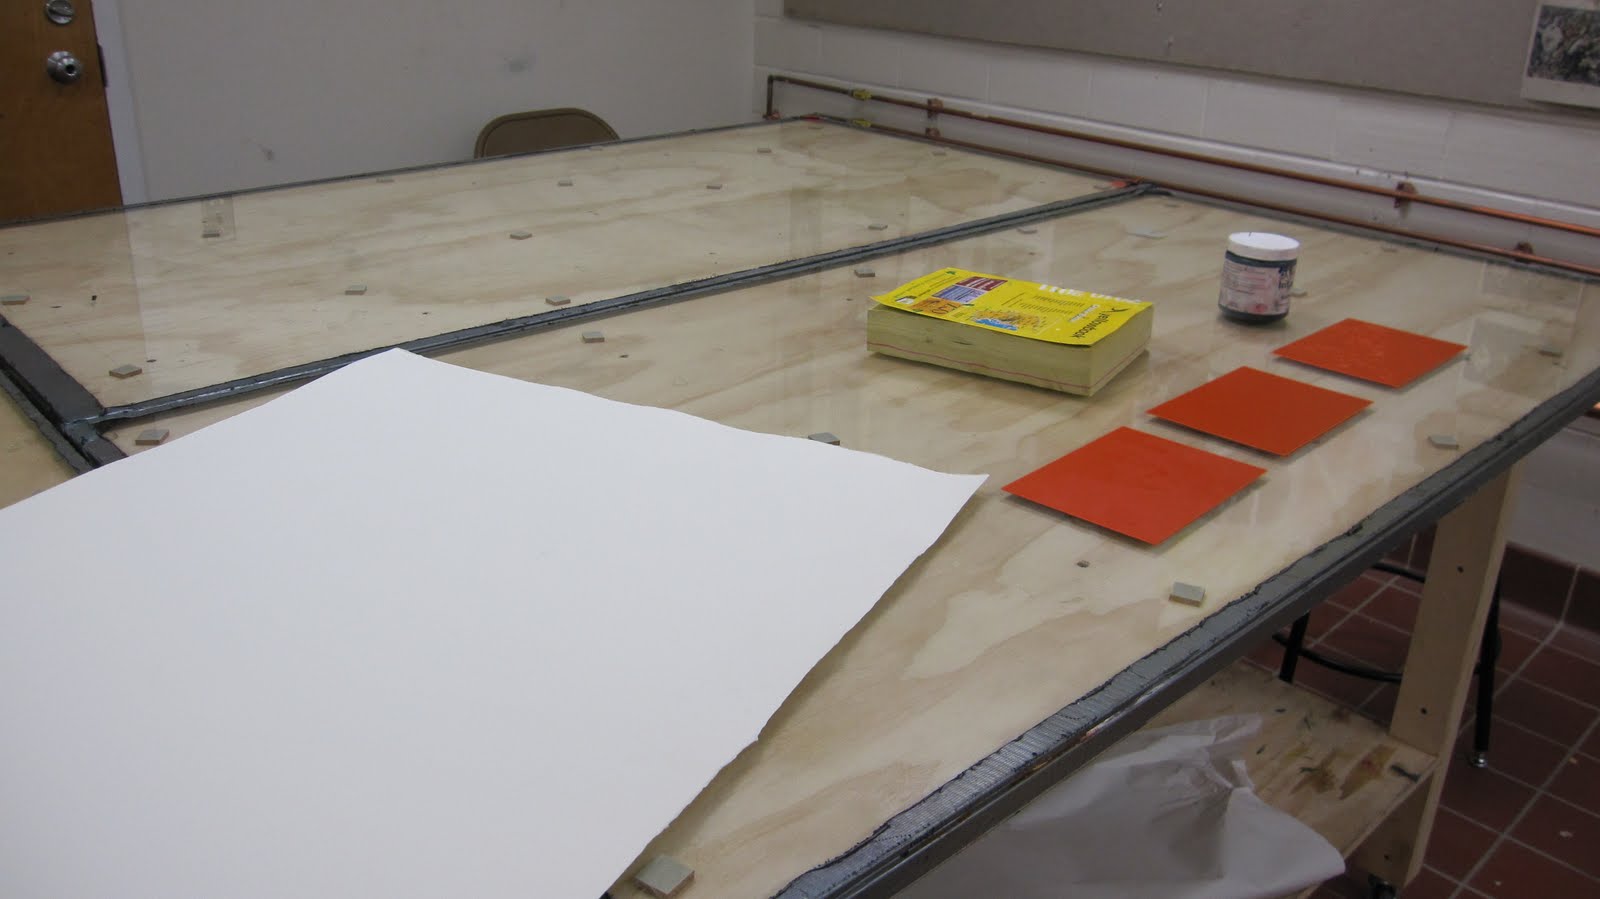
Now I get the exposure frame ready. The frame keeps the transparency immobile while the plate is exposed, and insures contact between the plate and the image (If the transparency is not in full contact with the plate, the exposed image will be blurry.) Here are the various parts--1/8 inch glass, foam rubber, 1/2 inch plywood, and 4 clamps.
Next, I unwrapped the solar plate (In the picture above it is wrapped in black plastic to protect it from light) and positioned it on the foam--the orange side of the plate faces up (the plywood board is under the foam.) The transparency goes on top of the plate and the glass is placed on top of everything. I clamped the exposure frame together. I try to do this efficiently so that the time from unwrapping the plate to walking outside to make the exposure is under a minute.
Here is the exposure unit outside. I am making a 90 second exposure for this plate. The time was 12 noon on a partly sunny day.
The last step is washing out the plate. I have placed the plate under a stream of lukewarm water and will gently rub it all over with my fingertips for about 5 minutes. This washed away the soft emulsion left under the ink drawing on the transparency. Exposure to the sun has hardened the rest of the plate.
During the next step--inking and printing-- I will push ink into the washed out areas and wipe the surface of the plate clean. When the plate is cranked though the press with a sheet of print paper on top, the ink in the washed out areas will be transferred to the paper. This process is called intaglio.
I will post photos of the inking and printing next. Probably over the weekend.
Jan